
Rock Tumbling Beginner's Guide
By Rock and Tumble Company

What is Rock Tumbling?
What You'll Need
- Rotary Tumbling Machine "Rock Tumbler Buying Guide"
- Rocks
- Grit & Media
- Burnish (Optional)
How to Choose Rocks for Tumbling
Hard Rocks Polish Well
Tumble Rocks of Similar Hardness Together
Avoid Thin, Porous, or Fractured Rocks
Use the Right Size
Media Filler: Plastic or Ceramic
Be Patient
The 4 Stages of Rock Tumbling
Stage 1: Coarse Grind
Duration: 1 - 4 weeks, often longer
- Add approximately 2 tbsp of coarse grit for every pound of rock you are tumbling. You can still have success with a little less grit, but there is no way to speed up your progress by using more grit. For a 3lb barrel, 4 tbsp is perfect.
- Add water to the barrel until the waterline is just below the top of the rocks.
- Seal the barrel, making sure the sides of the barrel lid are clean so that the barrel will seal. Place your barrel on the rotating shafts and begin tumbling.
- After approximately 7 days, your coarse grit should have worn down substantially and is no longer significantly shaping the rocks. Open your barrel and feel the slurry with your fingers. You should not be able to feel any particles of grit remaining. This indicates that the coarse grit has broken down.
- Dump out your rocks and media, rinse off the slurry and stuck grit, and inspect your rocks for progress. You are looking for rounded edges, which are often not quite there after just 7 days for harder rocks. If this is the case you will repeat Stage 1 until you are happy with the rounding on your rocks and the evenness of the surface. Only then should you move on to Stage 2. (*Only the coarse grit of Stage 1 is abrasive enough to shape harder rocks by removing material. So be sure you are happy with the shape of your rocks before moving on to Stage 2, as these next stages are more about preparing the surface of the rocks and not about removing material.)
- Lastly, be sure when you inspect your rocks that you remove any potential problem pieces, such as ones that are likely to fracture or trap grit. It’s smart to remove these earlier rather than later in the process to avoid damaging your better pieces.
Stage 2: Medium Grind
Duration: 1 week
Medium Grit: 110/220 or 220 Grade Silicon Carbide
- The steps for Stage 2 are similar to Stage 1. Double check that you are not carrying over contaminates from Stage 1.
- Add approximately 2 tbsp of medium grit for every pound of rock you are tumbling. For a 3lb barrel, 4 tbsp is on the mark.
- Keep in mind, material will have been removed from your rocks in Stage 1, and if enough was removed, you may need to add media to fill in the empty space of your barrel to reach 2/3rds full to prevent impact bruising.
- Add water to the barrel until the waterline is just below the top of the rocks and seal the barrel to begin tumbling.
- After another 7 days, it is time to check your barrel. You are looking for your rocks to be substantially smoother with a frosted look to them.
Stage 3: Pre-Polish
Duration: 1 week
Fine Grit: 500 or 600 Grade Silicon Carbide or Aluminum Oxide
- As the grit becomes finer, it becomes harder to clean between stages. These contaminants will ruin your polish, so it is worth it to be extra careful not to bring coarser grit into the next stage.
- Add 3 tbsp of fine grit for every pound. For a 3lb barrel, this will be about 6 tbsp.
- Make sure your barrel is at least 2/3rds full, adding media if necessary.
- Add water to just below the rocks and begin tumbling.
- After 7 days, check your barrel. You are looking for a slight luster on your rocks, even when dry, and for them to be smooth to the touch. Check for signs of contamination, like frosting or scratches, as you may need to repeat a stage to renew your progress.
Stage 4: Polish
Duration: 1 - 3 weeks, often longer
Polish: 1 - 3 Micron Micro Alumina Oxide (22,000 grit)
- In this final stage, extra fine micro alumina oxide is used to polish the stones and bring out that mirror-finish.
- Add roughly 1.5 tbsp of polish per pound. For a 3lb barrel, this comes out to 3 tbsp total.
- Make sure your barrel is at least 2/3rds full, adding media if necessary.
- Add water to just below the rocks and begin tumbling.
- After 7 days, check your barrel. You are looking for a lustrous finish on your rocks, even when dry. If you find your rocks aren’t quite there, we’ve found that repeating this stage for another week or two can help get you the rest of the way there. However, doing so should be at your discretion, as by this stage additional runs may not have any noticeable improvements. Sometimes dullness may mean that more time was needed in earlier stages.
Optional Stage 5: Burnish
Duration: 7 hours
Cleaner: Borax or Ivory Soap
- Burnishing can give an extra kick to your polish, and has the added benefit of cleaning out your rocks by removing the small particles of polish that get stuck in fractures and crevices.
- For this process, simply clean out your barrel and add a bit of borax detergent or ivory soap. You don’t need a lot. 0.5 tbsp per pound will do, or roughly 1 tbsp for a 3lb barrel.
- Burnishing is fairly effective over just a couple hours, but we recommend being patient and letting it run for a full 7 hours for those nooks and crannies.
Wrap It Up!
For all your patience and persistence, you’ve taken a rough rock and turned it into a polished gemstone! Sometimes the tumbling process can feel like a science experiment, but do not fret. With each tumble you’ll gain experience through tips, tricks, and good ol’ fashioned trial and error. And as you grow in this hobby, we just know you’ll become a master in no time! Tumble on!
Don’t forget to check out our other guides for more helpful information, as well as our wide selection of hand-picked tumbling rough rock and grit & media available.
Need something from our shop?
Grit & Media
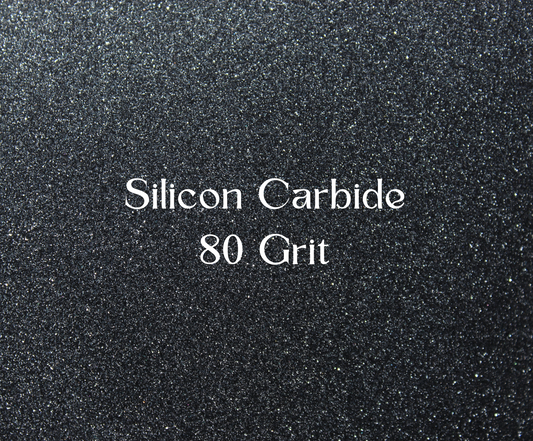
Silicon Carbide | 80 Grit | Stage 1 Rock Tumbling

Silicon Carbide | 220 Grit | Stage 2 Rock Tumbling

Silicon Carbide | 600 Grit "Pre-Polish" | Stage 3 Rock Tumbling

Micro Alumina Polish | 22,000 Grit | Stage 4 Rock Tumbling


Ceramic Media - 1/5" x 2/5" Size
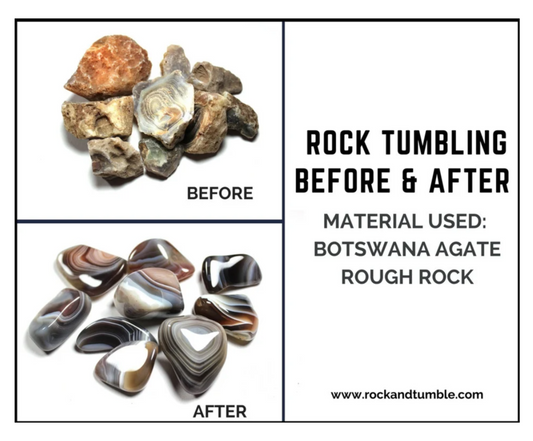
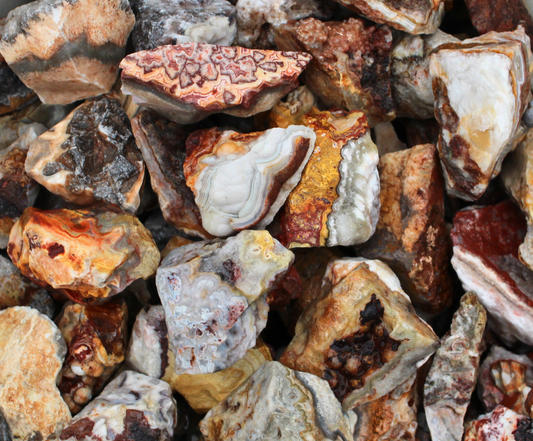
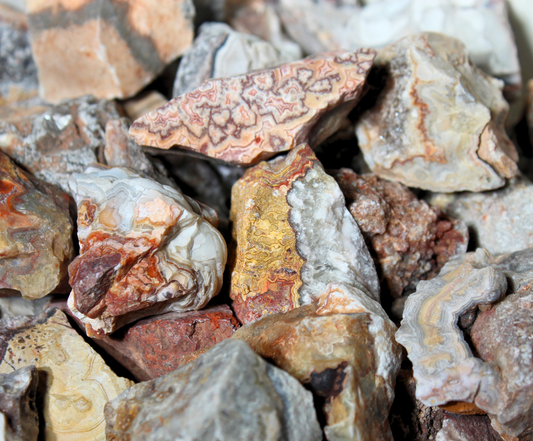
Tumbling Rough Rock
Crazy Lace Agate | Tumbling Rough
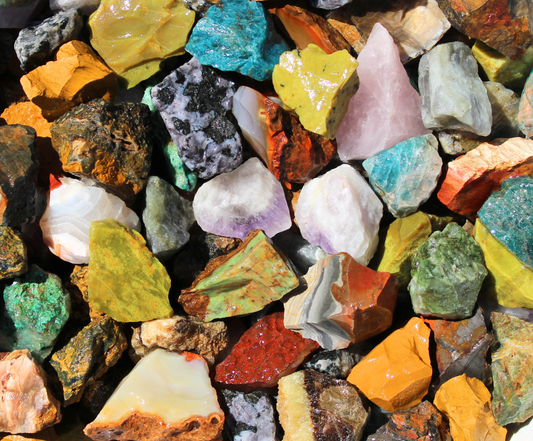

Madagascar Mix | Tumbling Rough
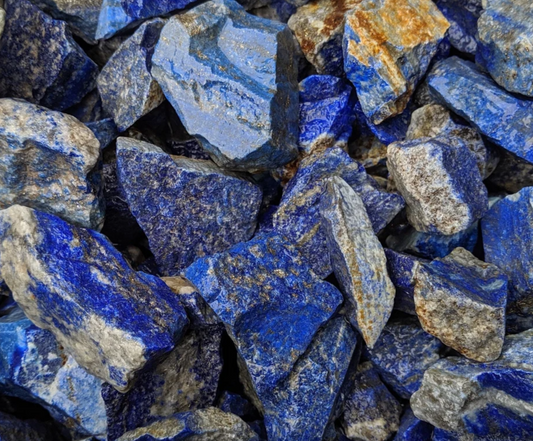

Lapis Lazuli | Tumbling Rough | Pakistan


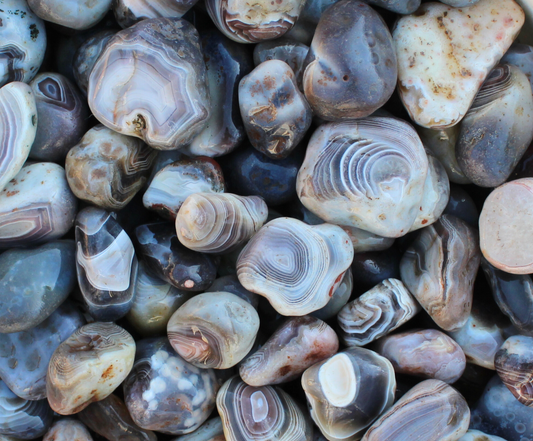
Agate Mix | Tumbling Rough
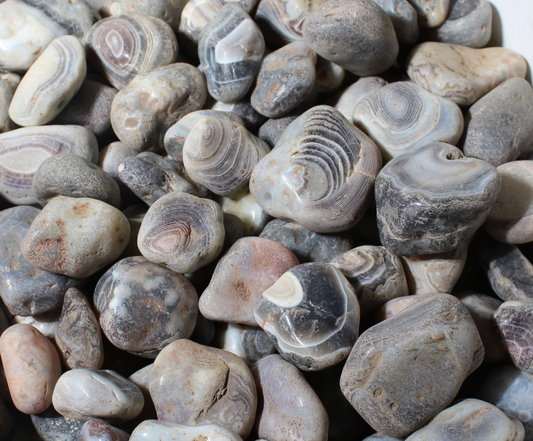
Gray Botswana Agate | Tumbling Rough
